Mounting your Solar Panels
Location
The location of your solar panels is important. Mounting them close to your well is ideal, this placement reduces the amount of voltage loss as the electricity travels from the panels to the RPS Controller. You’ll also want to avoid areas of shade from nearby trees or buildings. The ideal orientation is facing directly south without shade for the entirety of the day. With that said, we have plenty of customers with solar panels mounted between gaps in trees who are still able to pump enough water for their remote cabins.
Tilt Angle
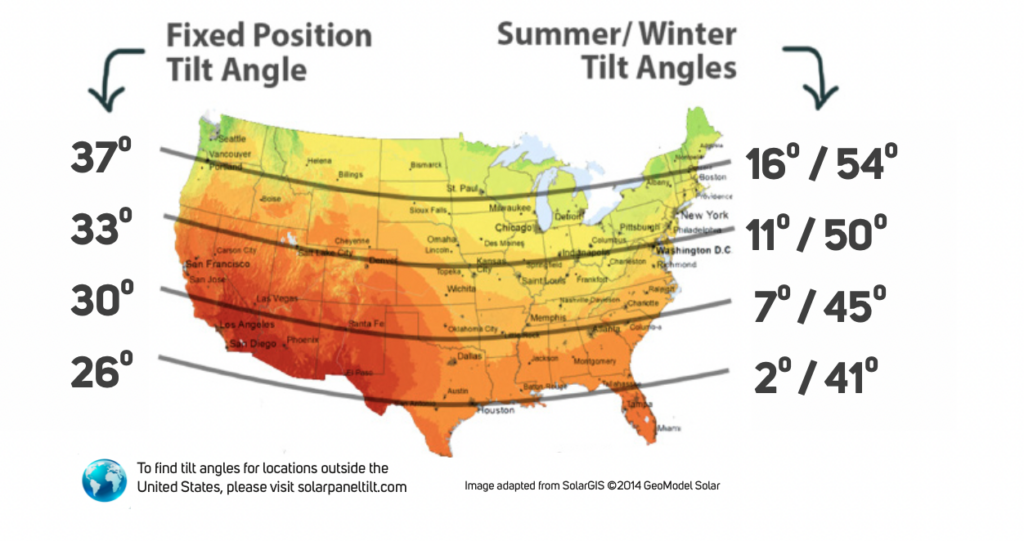
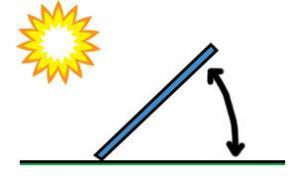
Solar panels are most efficient when facing as close to perpendicular to the sun as possible. As the sun travels across different angles during the day and throughout the year, it is impossible to keep panels perfectly perpendicular all the time without a sophisticated dual-axis tracking device. The RPS Maximum Power Point Tracking (MPPT) Pump Controller is designed to make the most out of your available sunlight, but mounting your panels at the right tilt angle for your latitude will also help maximize your power. Adjusting the angle of the panels two to four times each year will allow you to gain a few percentage points in yearly efficiency. We recommend keeping a fixed angle or adjusting twice a year (March 30th and September 12th). Wondering what tilt angle works best for your property? Check out our Solar Panel Tilt Angle Calculator.
Solar Panel Dimensions
All of our 3″ submersible, 2″submersible, TPP, Watersecure and the Pro 500, 750, and 1000 systems use 100W panels. Pro 1500, 2000, 3000, 5000 and Lakemaker 5 HP systems use 375W panels.
View solar panel spec sheets for the 100W panels and the 375W panels.
Mount Options
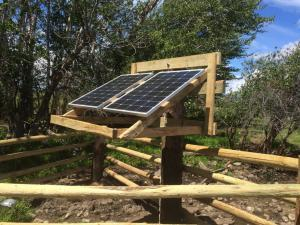
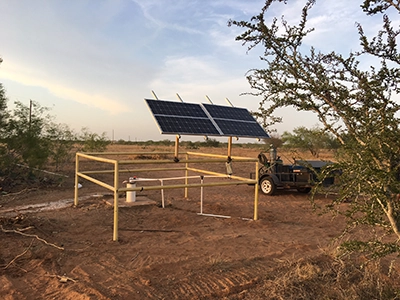
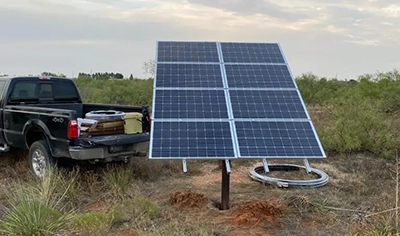
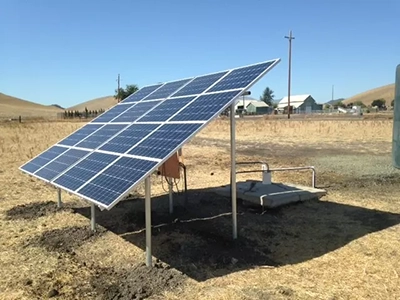
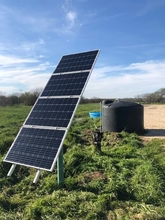
MOST POPULAR- Adjustable Top-of-Pole Mount
Easy to install. Just anchor down a steel pipe vertically in cement and fasten the RPS Adjustable Top-of-Pole Mount to the top. This mount allows you to adjust the tilt angle of the panels to get maximum pumping power year-round.
Buy 2-Panel Mount (1 for the RPS 200, 2 for the RPS 400, 3 for the RPS 600)
Mounts to 2.25″ OD steel post (Schedule 40)
Buy 4-Panel Mount (2 of these can be used for the RPS 600 or the RPS 800!)
Mounts to 4.5″ OD steel post (Schedule 40)
Buy 8-Panel Mount (used for the RPS 600 and RPS 800)
Mounts to 4.5″ OD steel post (Schedule 40)
Having trouble finding a 4.5in OD steel pipe? Using a Treated 5/6 Fence Post with RPS 4 Panel Mount Kit
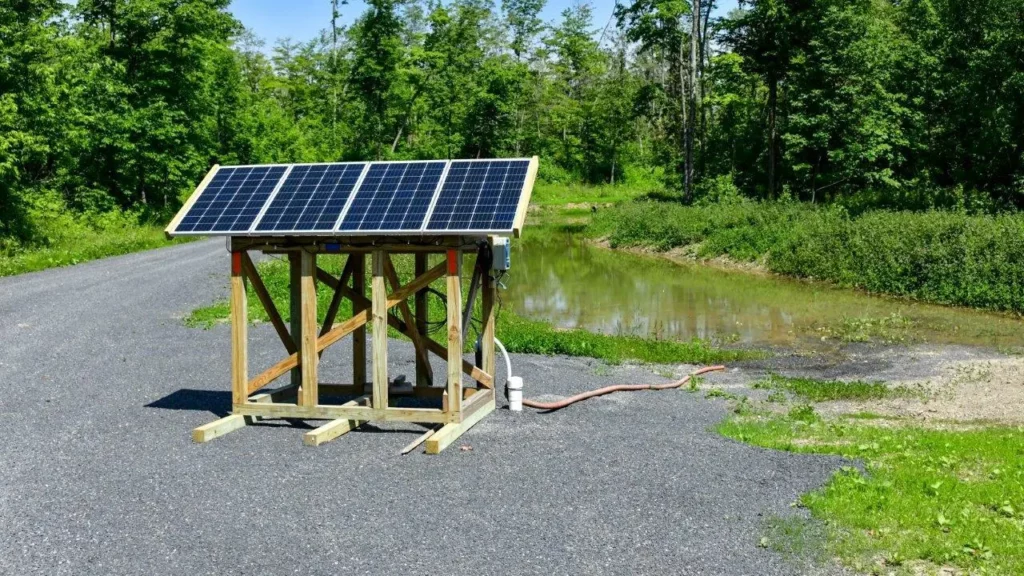
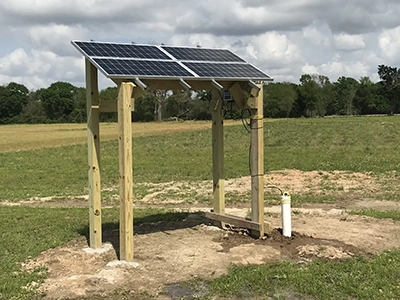
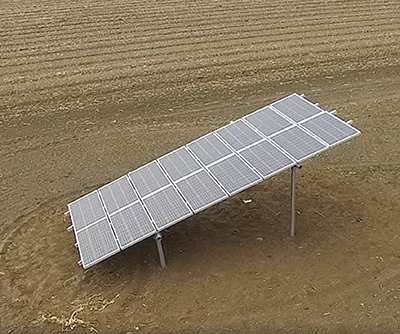
MOST POPULAR FOR PRO KITS- Scalable Ground Mount
An affordable and easy-to-install mounting systems for larger panels and arrays at fixed angles. The new Scalable Solar Panel Ground Mounting by RPS is the quickest way to plan for mounting a large array. These Ground Mounts are built using the tried-and-true post & beam substructure, bridged by our popular RPS rails and solar panel fastening hardware – the gold standard with our Top-of-Pole Mounting systems.
DIY Mounts
If you plan on building your own solar panel mount.
Wall Mount
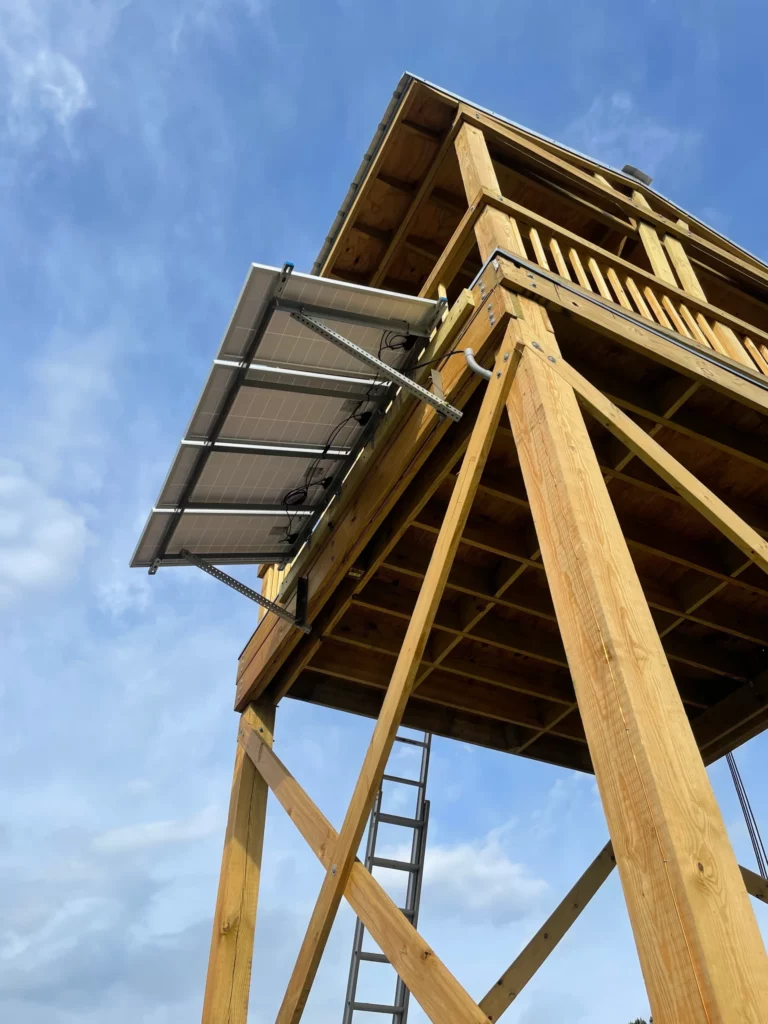
This mounting style can easily be installed with wood, angle iron, or pipe. It does require a building or branchless tree that is oriented with a south face. Every solar panel from RPS has holes in the frames that align with our RPS mounts, but if you’re using wood or your own metal, additional holes can also be carefully drilled in the frames. Use nuts/bolts to tightly fasten the panel to the mount.
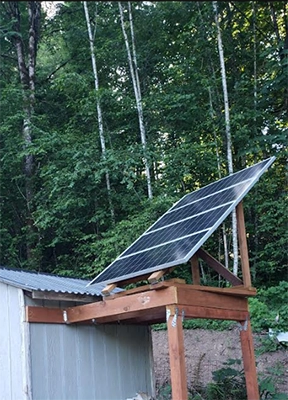
Angled Roof Mount
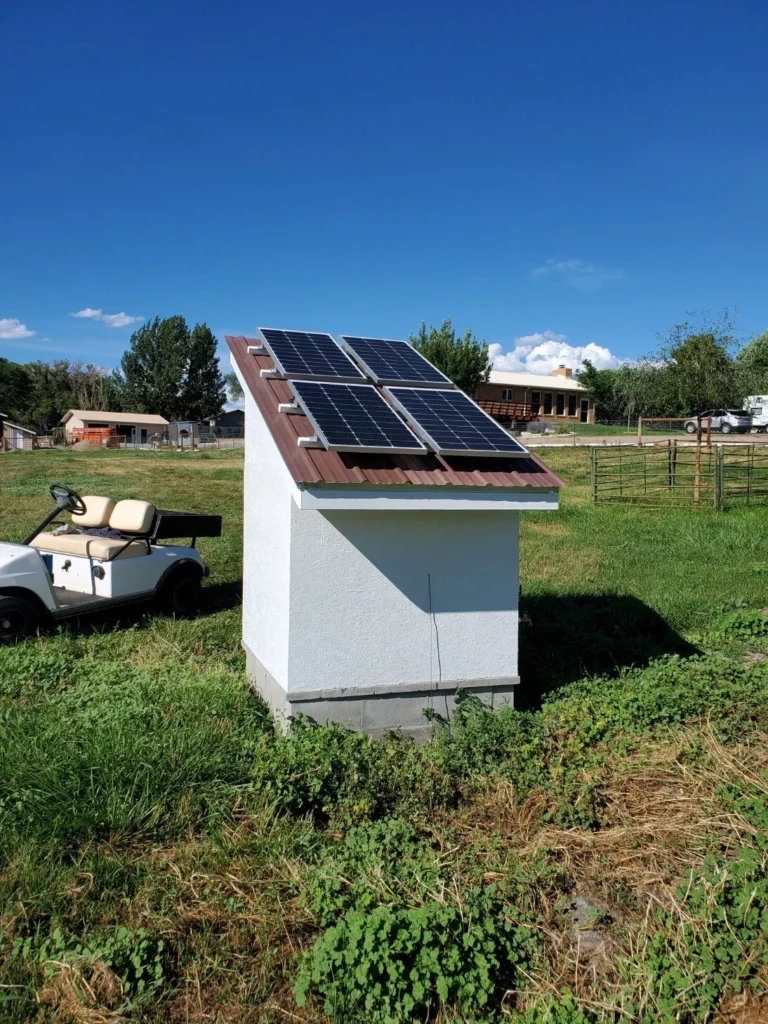
This mounting style requires a south-facing rooftop. Panels can be tilted up with wood or metal brackets. As with anything mounted on your roof, make sure to ground the panels well and attach in a secure and watertight manner. If roof angles are less then ideal for the season, additional panels may be needed but we encourage customers to start small and add later if needed. Our systems are very efficient.
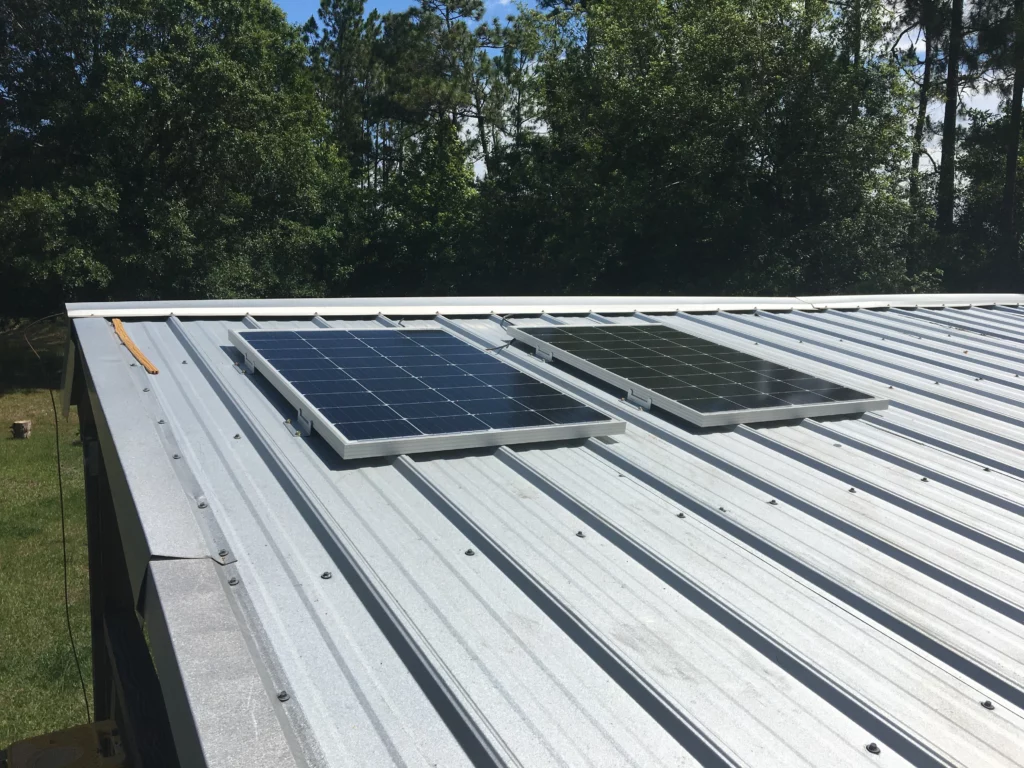
Flat Roof/Surface Mount
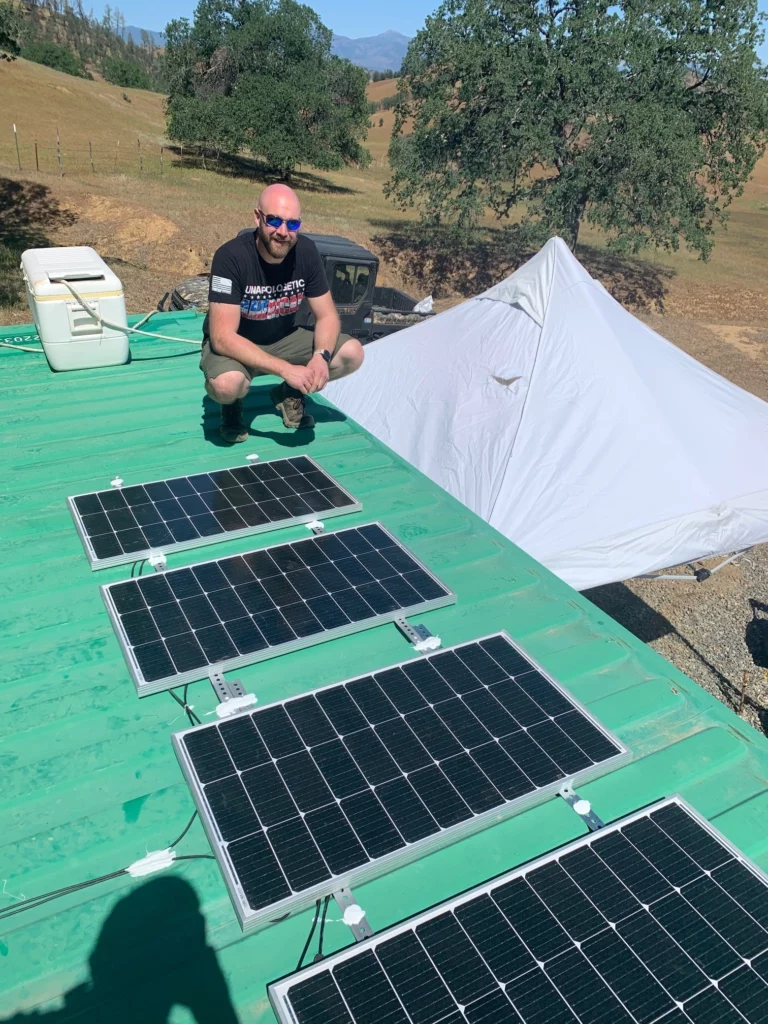
Do you have a south-facing rooftop that is close to the proper tilt angle for your latitude? (See table above for tilt angles.) With inexpensive L or Z brackets, panels can be fastened flat to the surface of the roof. As with anything mounted on your roof, make sure to ground the panels well and attach in a secure and watertight manner. If roof angles are less then ideal for the season, additional panels may be needed but we encourage customers to start small and add later if needed. Our systems are very efficient.
“On the Ground” Mount
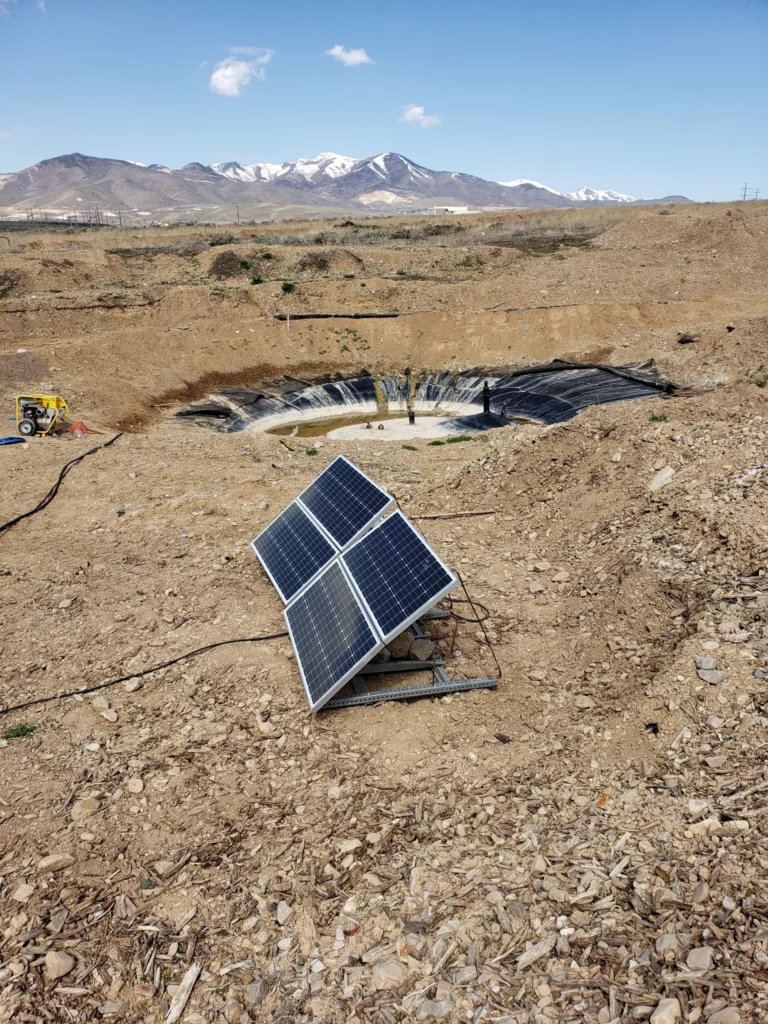
We often recommend just placing your panels slightly angled on the ground until you decide how you want to do your final mounting. As long as the panels are in the sun, your pump will work. Just be sure the are no shadows on the panels, no cardboard packaging or shade from another panel. You can use anything you’d like to prop the solar panels up to the desired angle. Be sure to ground the frame of the panels with a grounding rod. Note that we do not recommend this method if you have cattle or other animals that could knock the panels over or trample them.
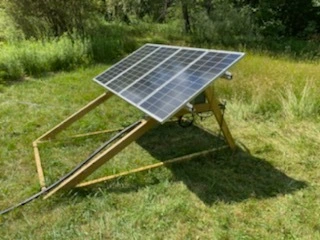
DIY Wood or Pipe Mounting

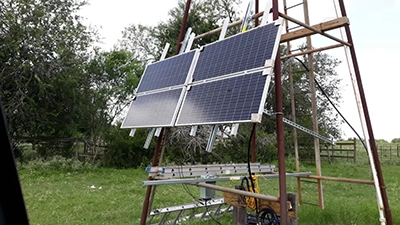
Constructing your own pole mount from wood or welded pipes is always an option. When installing a pole mount, make sure to elevate your panels for their safety. This setup is most popular with livestock installations. Angle iron, pipe, wood and brackets to attach the panels. Bonus points if you can adjust the tilt angle based on season (recommended for higher latitudes). Cost varies based on cost of lumber and metal locally.
Solar “Trackers”
While we get lots of questions about “trackers”, our customers have found over the years it far more affordable to add more solar panels to their systems as opposed to add a single or double axis tracking system. There may be some use cases where the high cost makes sense, but we don’t generally recommend or install ourselves.
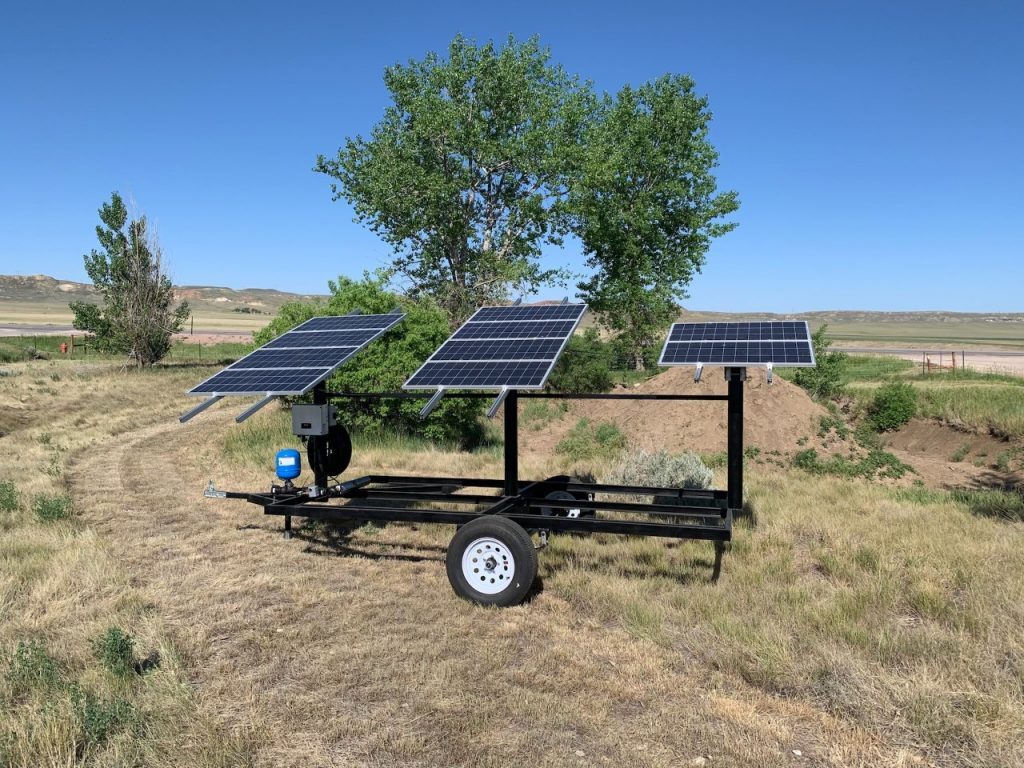
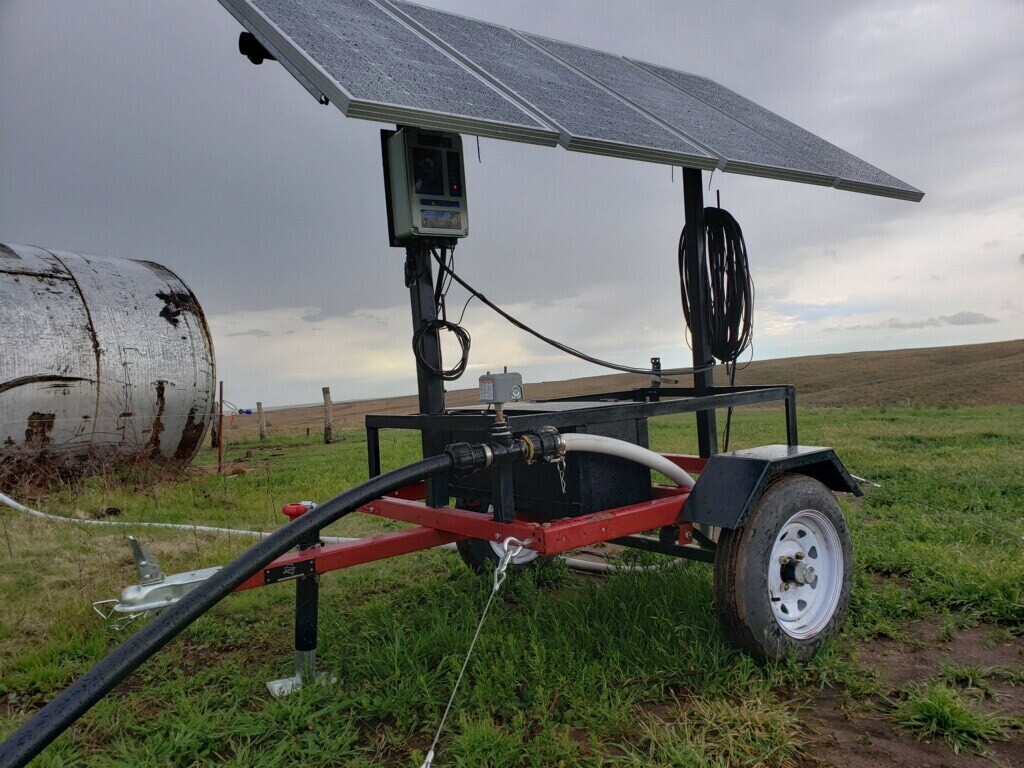
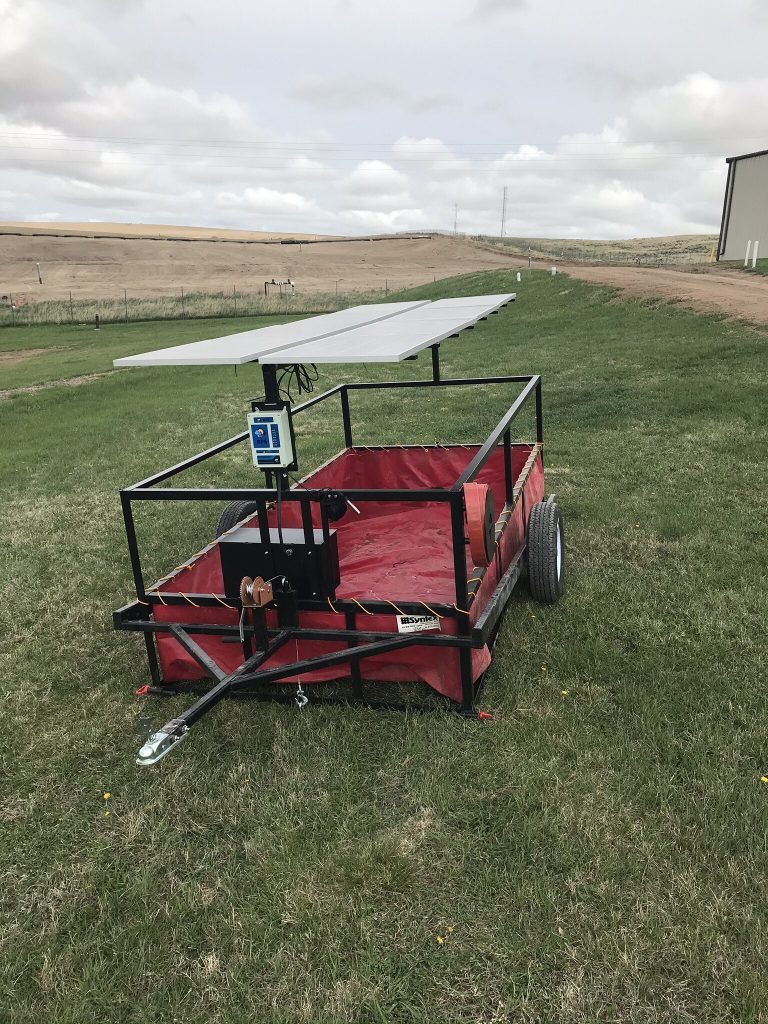
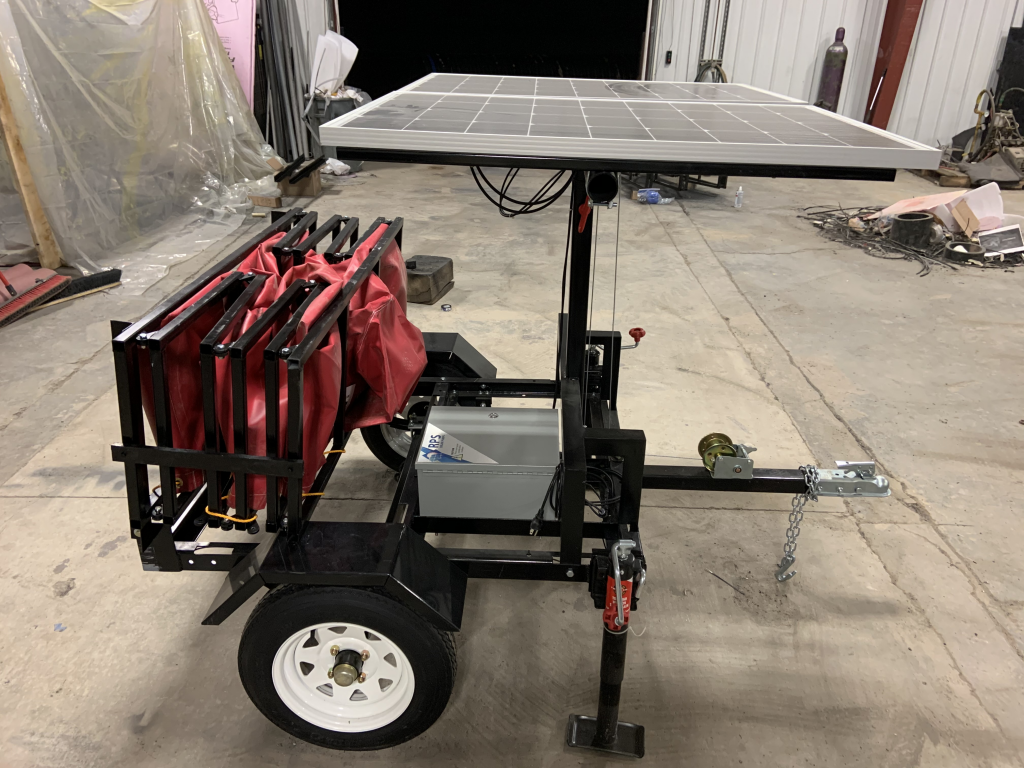
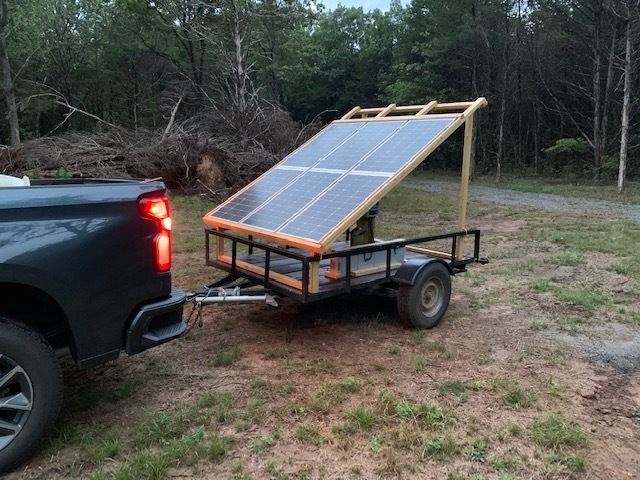
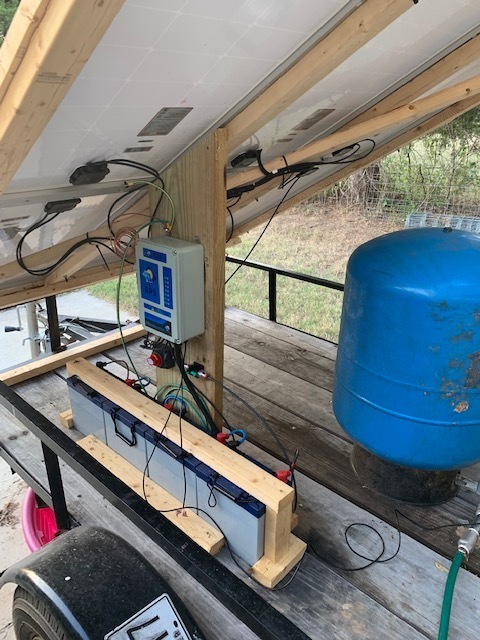
Solar Trailers
Many customers appreciate the portability offered by mounting panels on a trailer. While this adds more up front cost, especially for those who plan on towing their trailer on main roadways, it can be especially useful for those who plan to use their solar panel system for multiple applications in different areas.